 Homemade Khoya Mawa Using Regular Milk, It gives immense pleasure in making recipes from scratch. I am a great fan for milk sweets so before making Diwali sweets I made this Khoya and believe me I didn’t add any color , the texture and color of this homemade version amazed me to try several recipes with it :-). Refer at the end of the post, I have shared some finished goodie pictures and stay tuned for those mawa based recipes.
Yields :- 350 grams of Khoya approx
Ingredients
Regular Whole Milk – 3 Litres
Ghee – .5 tsp
Heavy bottom pan and a wooden spatula
How to get Homemade Khoya Mawa
- Try to choose high flame burner and a wide heavy bottom pan / kadai .
- Grease the pan with oil or ghee (you can do it a several hours prior to boiling the milk), this helps to prevent sticking.
- Add the whole milk and keep the flame high.
- Always eyeball it , since it foams anytime.
- Once it started foaming reduce the flame and with on and off stirring continue to boil.
- When the color changes pale yellow and milk thickened a bit, you can increase the flame to high.
- Scrape the sides and bottom of the pan to prevent sticking.
- Even thickened milk foams so always keep watching.
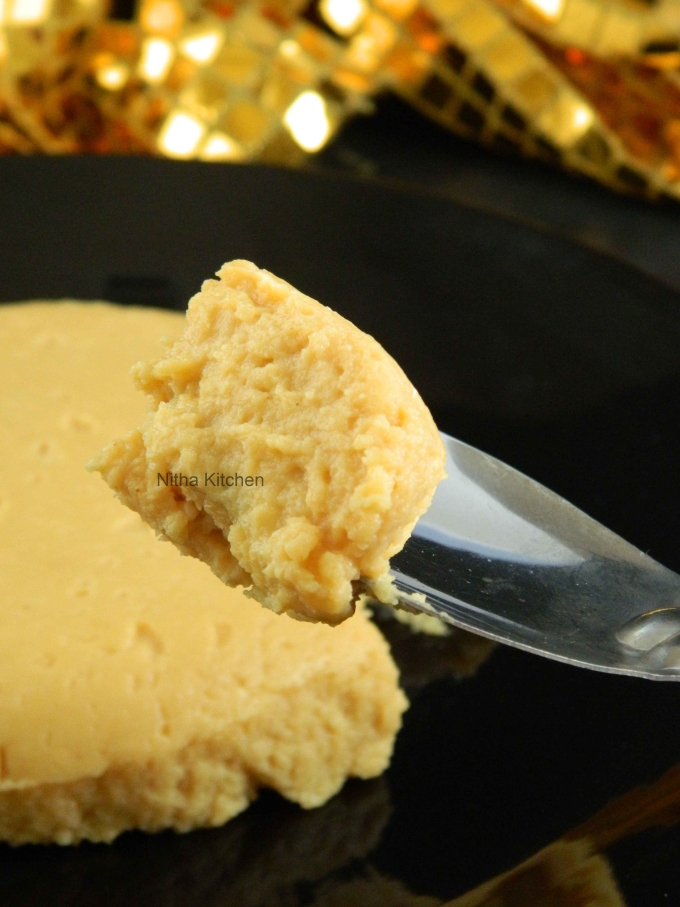
- At one stage the milk evaporates completely and it starts forming grainy textured mawa or milk solid.
- For me it took almost 40 minutes to get this texture.
- Remove from flame, it cooks few more minutes in the hot pan so keep stirring for a while.
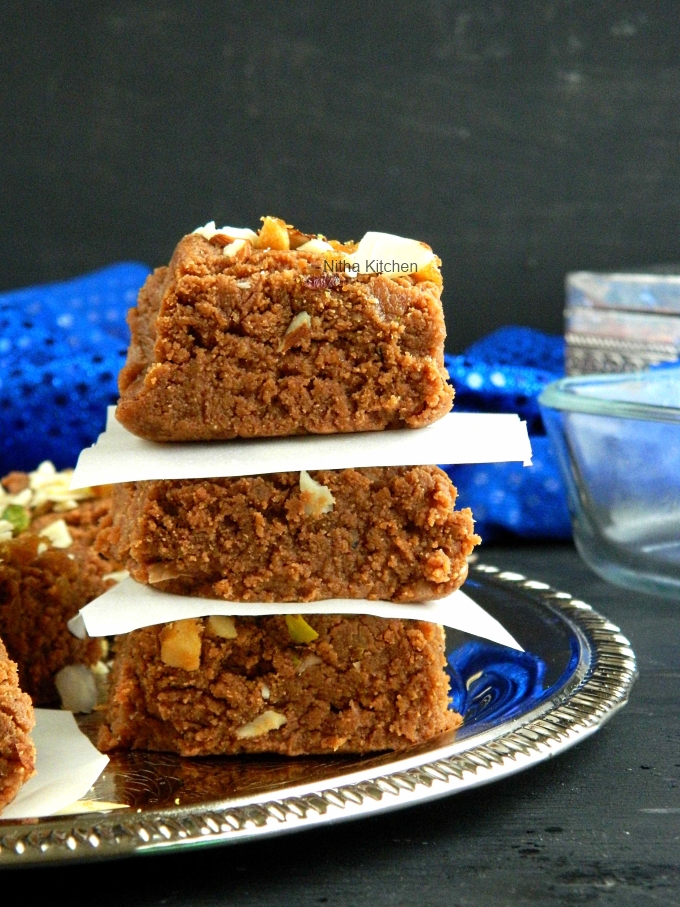
- After 4 to 5 hours the soft khoya/mawa shown in this video turned in to hard texture.
- Will be sharing those hard mawa picture when I post the Burfi recipe.
- Till then stay tuned.
Complete Video Tutorial
Storing Tips
- Well packed mawa in Ziplock can be stored in the refrigerator for 3 – 4 days.
- Freeze the Khoya Mawa for longer use.
 Things I did with Homemade Khoya Mawa

Few more mawa recipes Here .
Print Version

Homemade Khoya Mawa
Ingredients
- Regular Whole Milk - 3 Litres
- Ghee - .5 tsp
Instructions
-
Try to choose high flame burner and a wide heavy bottom pan / kadai .
-
Grease the pan with oil or ghee (you can do it a several hours prior to boiling the milk), this helps to prevent sticking.
-
Add the whole milk and keep the flame high.
-
Always eyeball it , since it foams anytime.
-
Once it started foaming reduce the flame and with on and off stirring continue to boil.
-
When the color changes pale yellow and milk thickened a bit, you can increase the flame to high.
-
Scrape the sides and bottom of the pan to prevent sticking.
-
Even thickened milk foams so always keep watching.
-
At one stage the milk evaporates completely and it starts forming grainy textured mawa or milk solid.
-
For me it took almost 40 minutes to get this texture.
-
Remove from flame, it cooks few more minutes in the hot pan so keep stirring for a while.
-
After 4 to 5 hours the soft khoya/mawa shown in this video turned in to hard texture.
-
Will be sharing those hard mawa picture when I post the Burfi recipe.
-
Till then stay tuned.
[…] love making khoya/mawa from scratch and use in milk based recipes. However you can use ready made mawa or the quickly […]