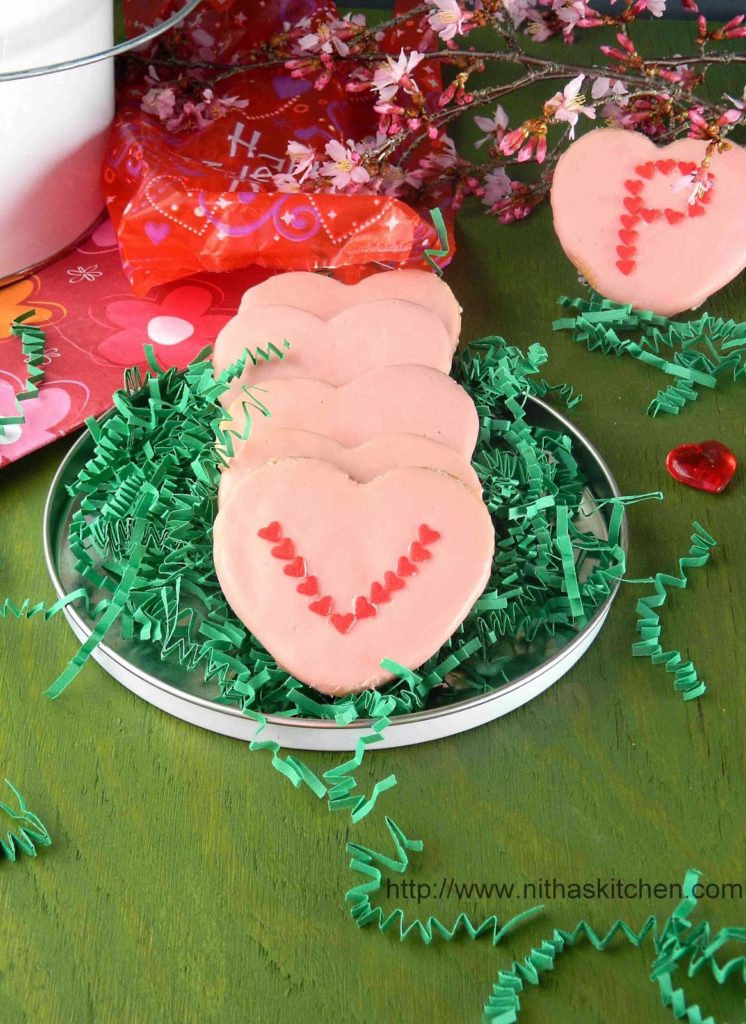
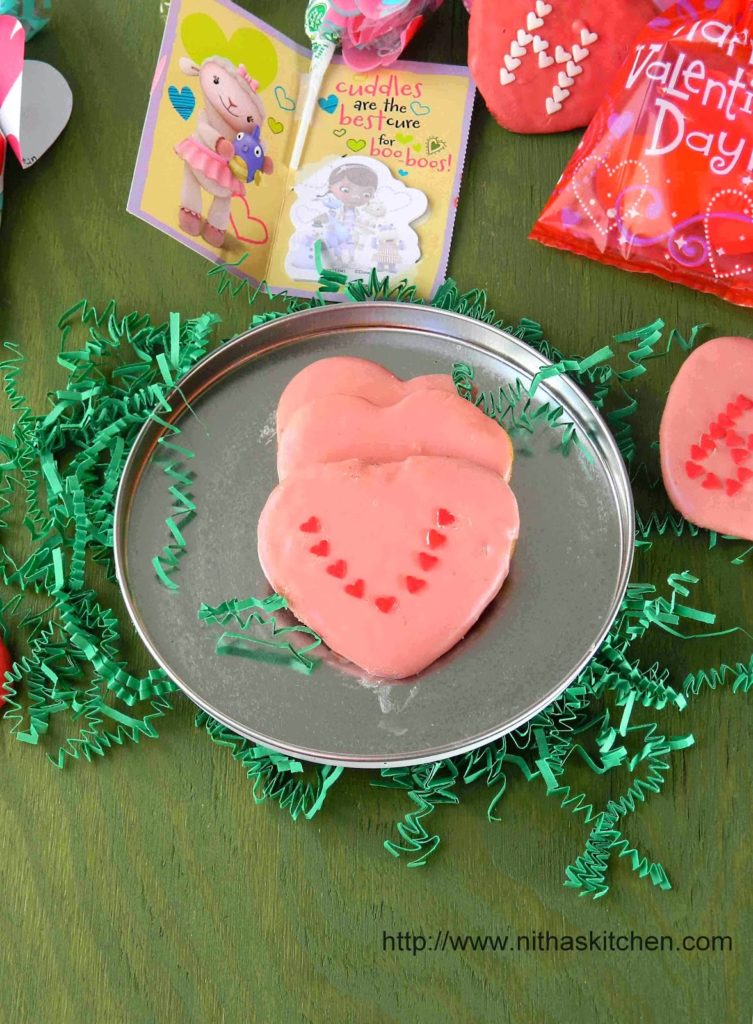
I made this sugar cookies for my daughter’s, class Valentine exchange party. This is a basic sugar cookie with lemon juice+baking soda combination and anyone can try this crispy cookies which are best at room temperature for 7 days. I decided to make heart cookies for her but was scratching my head for the decoration part. It finally strikes my mind to place the first letter (Monogram) of her friends name in each cookie. My daughter was very much excited to see the decorated cookies early morning. I remembered only few of her classmate names and her teacher helped to list them all. Also I got appreciation from them :-).
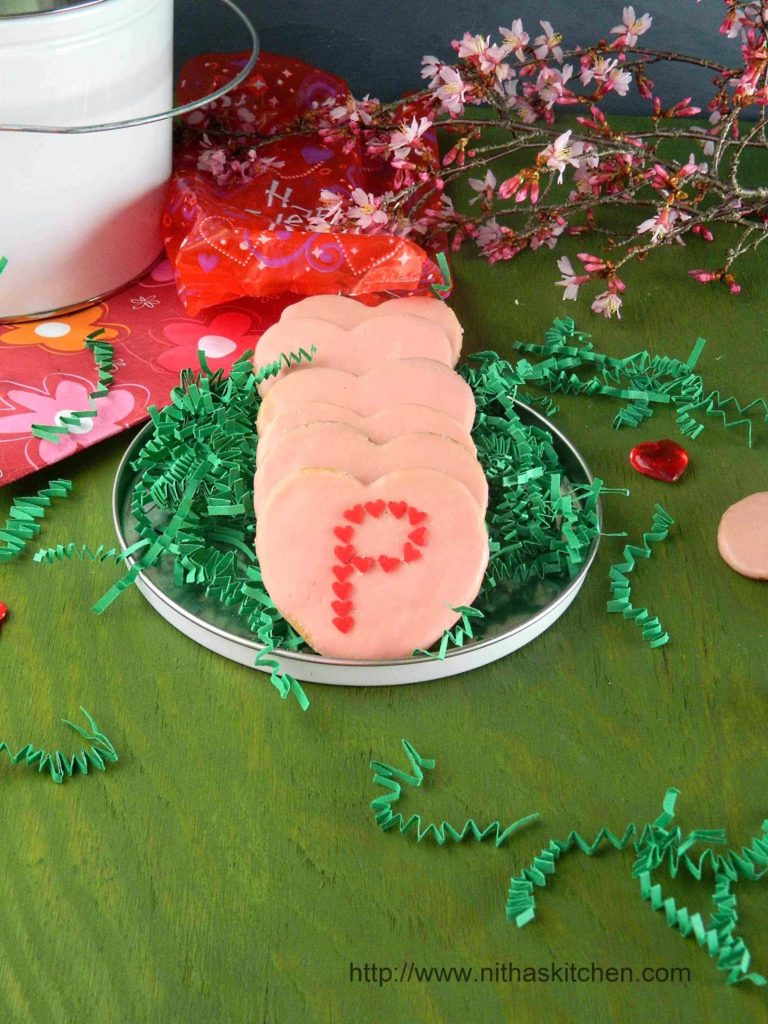
Today our blogger friend Priya Ranjit (Cook Like Priya), the cute pink lady is celebrating her birthday. We chat in FB often, she cares much and helps others in time. Many More Happy Returns of the Day Priya, Wish your dreams comes true :-). She likes Pink/Rose color so when we decided to make something special for her, I made these cookies again and decorated with letter “P”, are they looking cute?
Yields – 10-12 Cookies
Recipe Source :- Adapted Pumpkin Shaped Sugar Cookies Recipe
Ingredients for the Cookies
All Purpose Flour – 1and1/2 Cups
Butter – 1/2 Cup/1 Stick (Softened at Room Temp)
Sugar – 1/2 Cup (If not decorating then can take 3/4th cup)
Vanilla Extract – 3/4tsp
Baking Soda – 1/2tsp
Lemon Juice – 1-2tsp (Replace with 1/2tsp cream of tartar)
Salt – A Pinch
Method
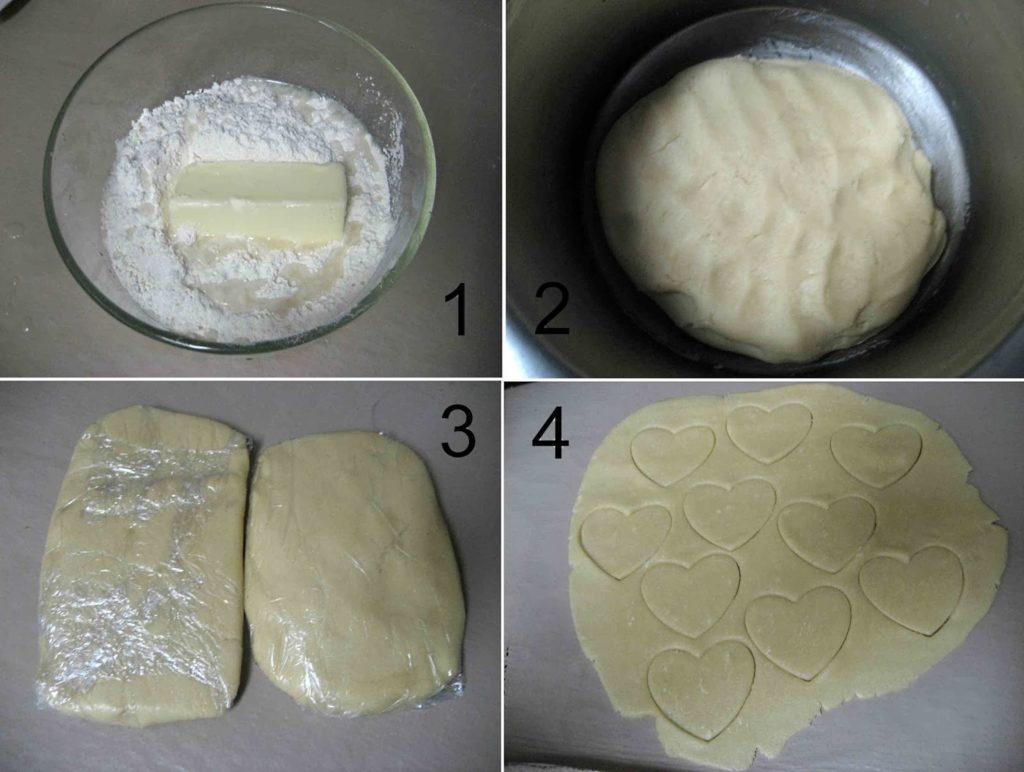
- Mix dry ingredients all together like flour, baking soda, salt and sugar in a mixing bowl(Pic 1).
- Now add butter, vanilla extract, lemon juice(Pic 1) and mix to form stiff dough(Pic 2).
- It crumbles initially and butter tends to bring the soft dough at certain point.
- Seal and refrigerate the dough for at least 2 hours or overnight(Pic 3).
- Knead the dough over non sticky surface to even1/2inch thick and cut the cookies with desired shapes(Pic 4).
- Transfer the cookies gently using flat spatula to oil greased and parchment paper layered cookie sheet.
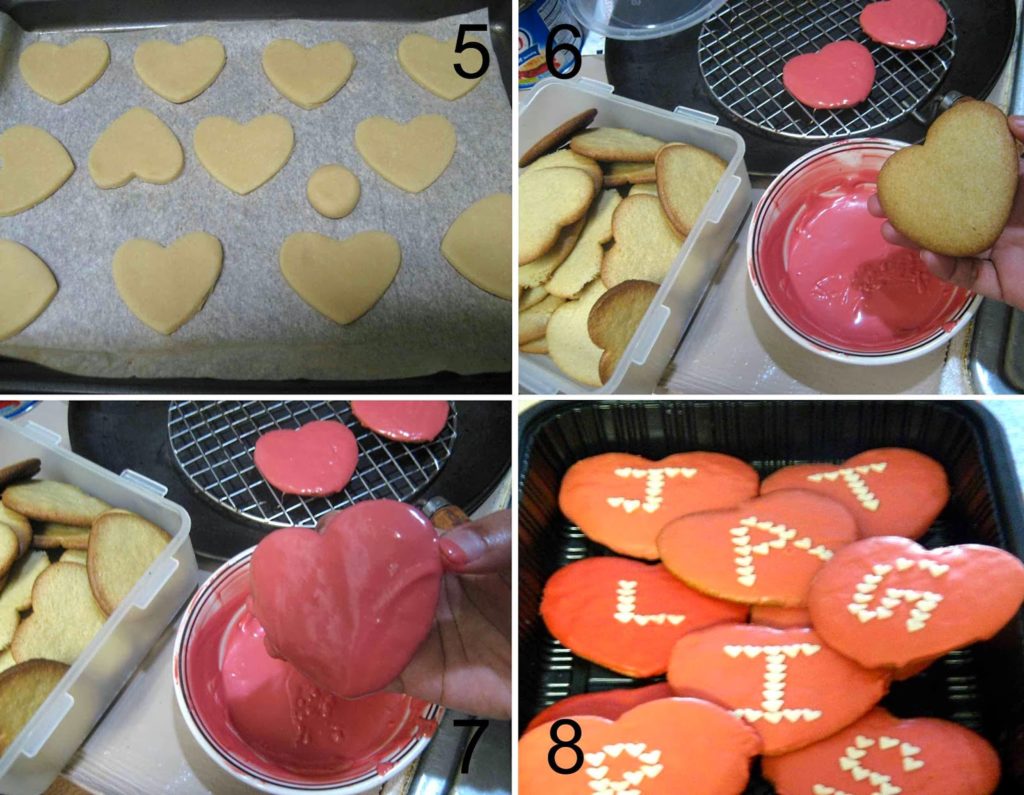
- Make sure to leave enough space between cookies as they expand while baking (Pic 5 below).
- Do repeat making shapes with all the remaining dough.
- Refrigerate at least 30 minutes or Freeze it for a while to make them firm.
- Now bake in pre heated over at 375 F for 8-10 minutes or until edges turn brown.
- At this time when you touch they are very soft; just leave it without disturbing for another 2-3 minutes in the cookie sheet.
- After that transfer to cooling rack, when cooled completely transfer to air tight container till use.
- Can be stored in room temperature for another 5-7 days.
How to Decorate Cookies with Candy Melts
Ingredients needed to decorate 16 – 2and1/2 inch cookies (Approx)
Any colored Candy Melts – 1/2 Cup (I used pink and red color Wilton Candy Melts)
Vegetable Shortening – 1 Tbsp
Oil – 1 Tbsp
Sugar Sprinkles – As Needed
Method
- Melt the candies in microwave or double boiler; add oil and shortening to make it flow.
- Hold the sides of the cookie(Pic 6) and dip it in melted candies stuff(Pic 7).
- Gently shake it to remove excess(Pic 7) and place it over cooling rack to dry (Pic 7).
- Leave it as it is for 20 minutes to dry.
- If needed decorate with sugar sprinkles (Pic 8).
- I used heart shaped sprinkles and pressed one at a time over candy coated cookies to make letter impression.
Notes
- I have given approximate shortening and oil quantity since I do in batches I never measure.
- When exposed to high temperature/sunlight cookies coated with candy melts melt and mess your work, so make sure to store in right temperature.
- If you like to add egg then add 1/2 egg to the cookie dough and reduce 1 tbsp of butter.

yummy and delicious cookies..
Such beautiful cookies 🙂 valentines pink and monogram P 🙂 wow you are truly awesome deary. Thank u so so much I am totally speechless seeing so much of love and creativity that you have shown. Thanks a lot this means so much to me 🙂 thank u deary you really made my day
Omg, these cookies are just simply fabulous, well done, a fantastic virtual treat to Priya.
wow super pink cookies and lovely click aks…
superb lovely, tasty cookies. Absolutely yumm..
pink cookies look awesome and perfectly arranged ..superb sis
nice cookies…..love that last click……
Lovely pink cookies.
So meaningful; the hearts, the color and the delicious outcome.
Super cookies aks and love the color too
perfect treat.. love the color
Cookies looks perfect and tasty …….. Love it!! Happy to follow you, visit my place also!!