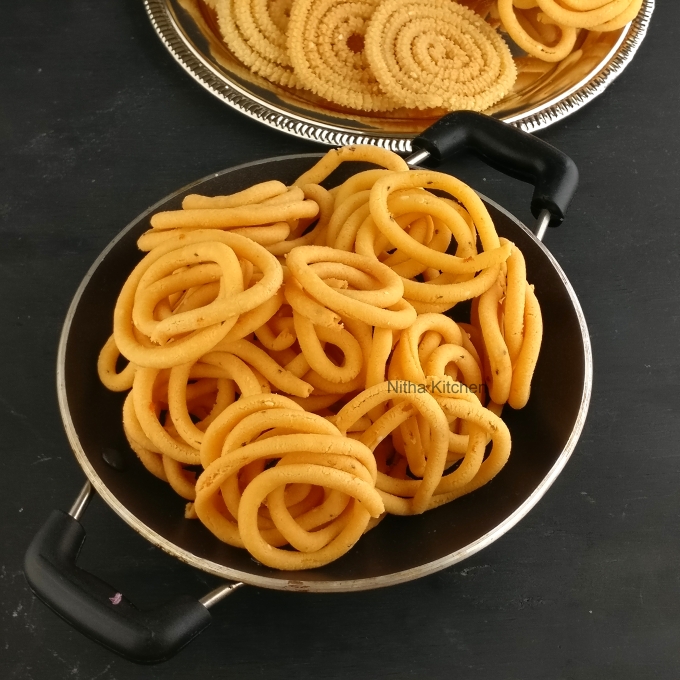
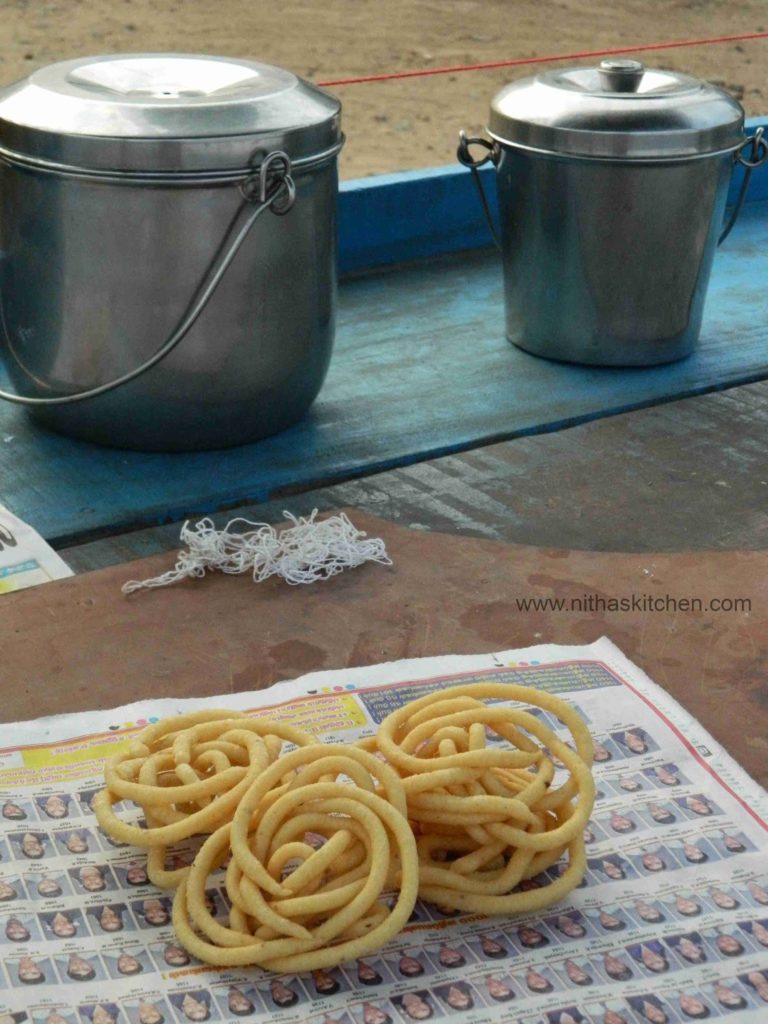
It’s my long time wish to post Traditional Thenkuzhal Murukku using rice batter ie arisi maavu murukku an authentic version.. The lack of grinder postponed it. My Mom side Pottukadalai Murukku is famous and I have posted it earlier with Instant rice flour too. My MIL makes only this urad flour version, she made in bulk with the help of Banu kka and I have shared few of those pictures today.
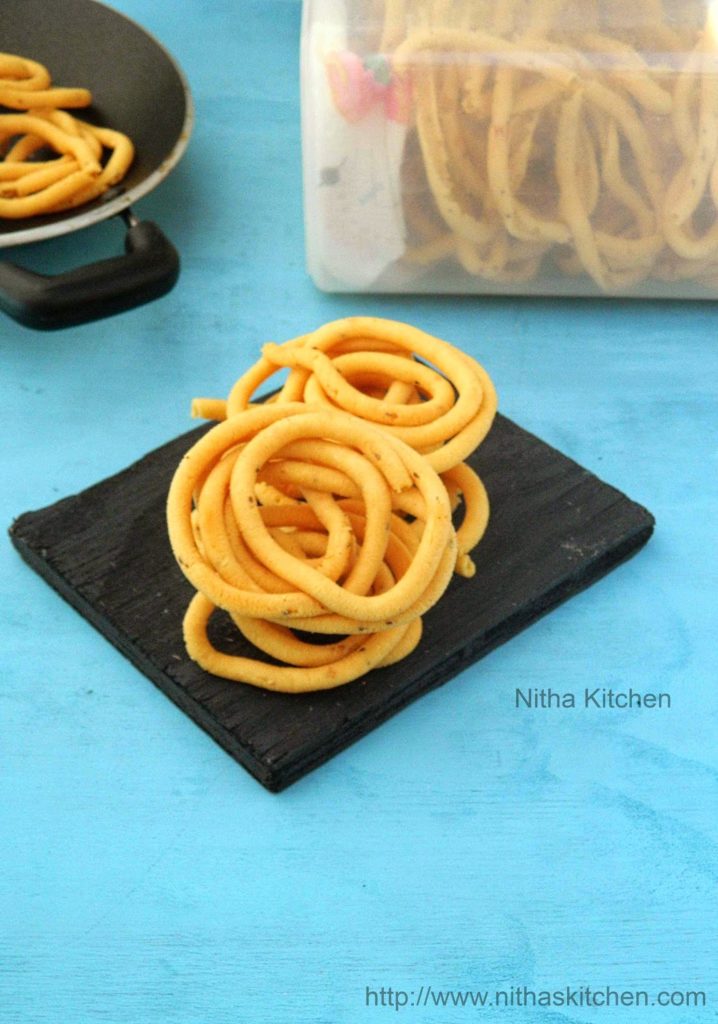
Last week I tried my hands as I got grinder 🙂 and instead of traditional plain 3 holes press I used a single hole and that is the last press designed to fit in the press tool :-). I have shown it very clear in the below picture. This thenkulal murukku
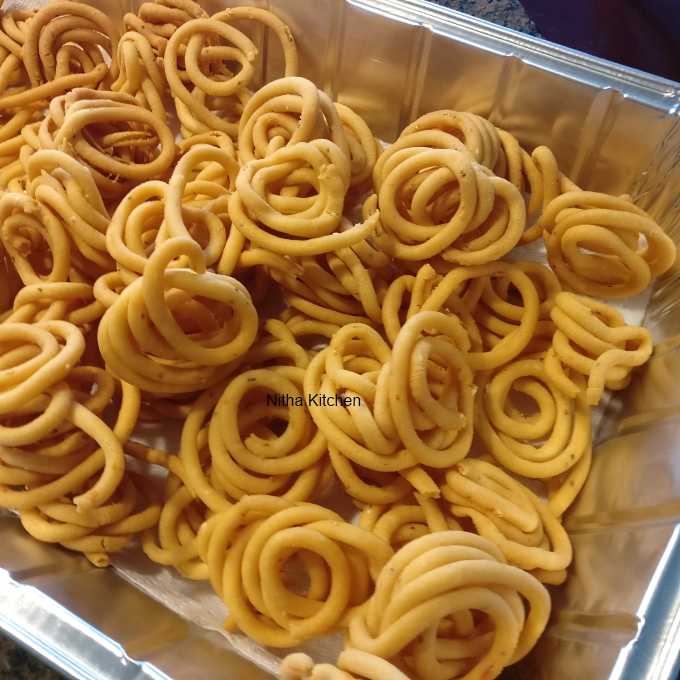
fits all age groups especially kids who stare where to start when we give mullu/designed murukku to them :-). Also the Idli rice and Urad dal combo when dropped in oil it bulges in size and yields more when compared to other murukkus.
Recipe Source :- Own

Makes 50-60 Medium size Murukkus
How to make Thenkuzhal Murukku
- Soak rice and red chilis together for at least 5 hours (Pic 1).
- Meanwhile dry roast the urad dhal till golden brown and allow to cool completely (Pic 2).
- Powder the fried dal and sieve it to get fine powder (Pic 3).

- Grind the rice in grinder with less water and to very smooth consistency(Pic 4).
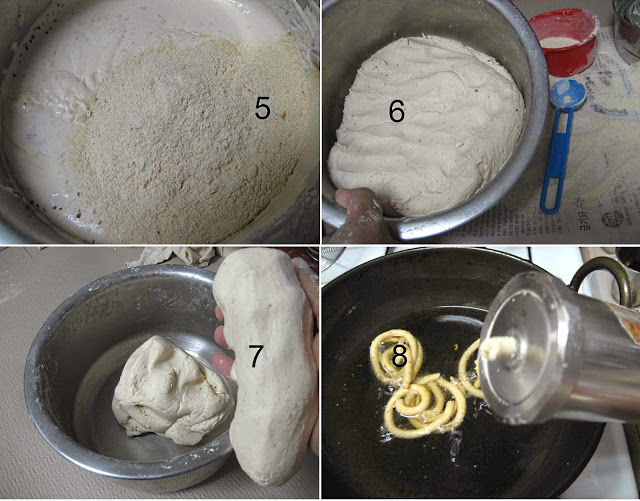
- Now add omam, sesame seeds, butter, salt, urad dhal powder in batches to rice batter (Pic 5).
- I have used 1 Cup minus 2 Tbsp of urad dhal for this quantity.
- Anyways it depends on how thick the rice batter is, so after adding 1/2 Cup add urad dal flour in tbsps (Pic 6).
- Attain the perfect consistency as shown in picture (Pic 7), and when you press the shapes it should hold, if it breaks it needs more moisture.
- When chilis are not grinded well they stuck in the press and dough break sometimes.
- The traditional press with three plain holes is the easy and quick way to finish making this murukku but i used single hole press(Pic 8).
- Here comes the jumbo murukku with 3 holes, which i clicked when Banu ka was in making.

- Use any design as you have and just drop it in hot oil directly as i did in Pic 8 or first make in ladle(above picture) and flip it in oil.
- Make 4-5 at a time and cook till light golden brown or ussh cooking sound supress (Pic 9).

- When tasted you should feel the crisp otherwise it needs few more minutes of cooking.
- Drain the fried murukkus using paper towel (Pic 10) and store in air tight container.
- This retains its shelf life for more than a month if handled properly.
- Perfect snack to munch anytime 🙂
Thenkuzhal Murukku Ingredients
Idli Rice – 3 Cups
Whole Urad Dhal/Gotta – 1 Cup, when roasted and powdered do add 1.25 cups of urad flour to the ground batter (You can use instant flour too)
Butter – 4 Tbsp
Ajwain/Omam – 1 Tbsp (Replace with Cumin Seeds)
Sesame Seeds- 1 Tbsp (Optional)
Whole Red Chilis – 8-10 Numbers (Long)
Salt – As Needed
Oil – To Deep fry
Variations
- Instead of urad flour you can make murukku with pottukadalai flour.
- No need to fry the pottukadal just grind and sieve before using.
I usually make it bulk and keep it for longer days during vacation, here are some pictures..
Tips for Thenkuzhal Murukku
- If you feel the murukku is hard/so crisp then add another tbsp of butter.
- Also divide the dough in 2 batches n keep covered the other one till you finish the first batch.
- If the dough gets dried just wet your hands/sprinkle few drops of water and mix it well.
- Actually Amma checks for any stone/sand/mud in Rice and Ajwain, you too make sure before starting preparation and clean well.
- Please sieve the urad dal flour before mixing with rice batter, it is important.
- Also the ground rice batter should be smooth and not coarse textured.
- I personally feel the press mentioned in step 8 works good for this puffy murukku.
- Also when you press directly in hot oil due to your hand pressure and air the initial murukku gives some splattered/crackling sound so do avoid it by gently pressing in the hot oil.

Recipe Card

- Idli Rice – 3 Cups
- Whole Urad Dhal/Gotta – 1 Cup when roasted and powdered do add 1.25 cups of urad flour to the ground batter (You can use instant flour too)
- Butter – 4 Tbsp
- Ajwain/Omam – 1 Tbsp Replace with Cumin Seeds
- Sesame Seeds- 1 Tbsp Optional
- Whole Red Chilis – 8-10 Numbers Long
- Salt – As Needed
- Oil – To Deep fry
-
Soak rice and red chilis together for at least 5 hours (Pic 1).
-
Meanwhile dry roast the urad dhal till golden brown and allow to cool completely (Pic 2).
-
Powder the fried dal and sieve it to get fine powder (Pic 3).
-
Grind the rice in grinder with less water and to very smooth consistency(Pic 4).
-
Now add omam, sesame seeds, butter, salt, urad dhal powder in batches to rice batter (Pic 5).
-
I have used 1 Cup minus 2 Tbsp of urad dhal for this quantity.
-
Anyways it depends on how thick the rice batter is, so after adding 1/2 Cup add urad dal flour in tbsps (Pic 6).
-
Attain the perfect consistency as shown in picture (Pic 7), n when u press the shapes it should hold, if it breaks it needs more moisture.
-
When chilis are not grinded well they stuck in the press and dough break sometimes.
-
The traditional press with three plain holes is the easy and quick way to finish making this murukku but i used single hole press(Pic 8).
-
Here comes the jumbo murukku with 3 holes, which i clicked when Banu ka was in making.
-
Use any design as you have and just drop it in hot oil directly as i did in Pic 8 or first make in ladle(above picture) and flip it in oil.
-
Make 4-5 at a time and cook till light golden brown or ussh cooking sound supress (Pic 9).
-
When tasted you should feel the crisp otherwise it needs few more minutes of cooking.
-
Drain the fried murukkus using paper towel (Pic 10) and store in air tight container.
-
This retains its shelf life for more than a month if handled properly.
-
Perfect snack to munch anytime 🙂
Recipe Video
- If you feel the murukku is hard/so crisp then add another tbsp of butter.
- Also divide the dough in 2 batches n keep covered the other one till u finish the first batch.
- If the dough gets dried just wet ur hands/sprinkle few drops of water and mix it well.
- Actually Amma check if any stone/sand in Rice and Ajwain, make sure before starting the process and clean it.
- Please sieve the urad dal flour before mixing with rice batter, it is important.
- Also the rice batter should be smooth and not coarse textured.
- I personally feel the press mentioned in step 8 works good for this puffy murukku.
- Also when you press directly in hot oil due to your hand pressure and air the initial murukku gives some splattered/crackling sound so do avoid it by gently pressing in the hot oil.
Thanks for the recipe,it came out good.But they were popping when i put them in oil..not sure why,no water was there.
Oh sorry to hear that…do check the video for dough consistency, have you sieved the urad dal flour? The consistency of rice batter should be smooth and not coarse. If the answer is yes then do coat some instant rice flour and knead well and try again…
Also when you squeeze murukku directly in oil the pressure to the press gives such sound nothing to worry, do press gently.
thanks for your lovely comments 🙂
nice cliks n perfectly deep fried..
Diwali is incomplete with a murukku,esp thenkuzhal is a simple murukku that can be prepared at everyone's home…Clear demonstration of the making,love your crunchy munchy murukku's ….
Looks real wonderful ! thanks for sharing !
Looks delicious and crispy..
great snack dear
My does it exactly same.. For me I grind the rice but add urad flour… Murkukku looks so tempting
Wow..love the color and the mururkkus looks too softer and crispy!!
My favourite one.Thanks for linking this to Gayathri's WTML Evnet hosted by me.
Delicious thenkuzhal murruku yumm.
Awesome recipe for Diwali, well explained 🙂
Really good and its awesome
Murukku looks fabulous and authentic…
Excellent sis, paati veetu nabagam varuthu, she makes her muruku this way, nothing beat the taste of this murukku na..