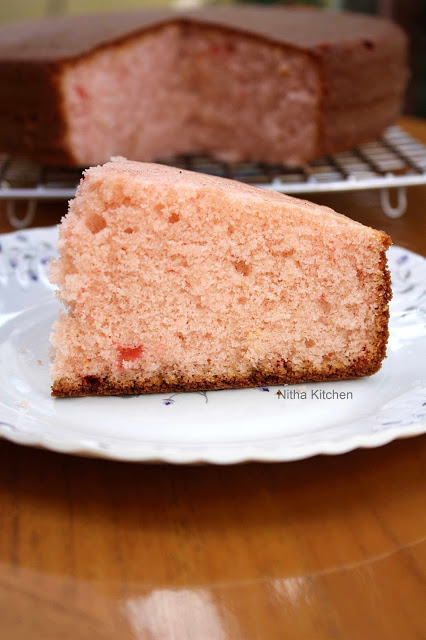
My little one has been asking for strawberry cake and in Parents house it’s hard to get strawberries, any pink cake is meant to be strawberry for him so I decided to bake rose flavored butter cake. First time I made it so in pressure cooker, later the same cake I baked twice for relative birthdays in oven and all the time they turned out too good. Everyone liked it and noted the recipe from me as well. I am planning to bake again for him in another 2 days, sharing such fool proof recipe here in the blog with stepwise pictures…
Ingredients
Maida/All Purpose Flour – 2 Cups/240grams (Use 250 grams maida pack too)
Egg – 4 Numbers (Large)
Butter – 3/4 Cup (1 Stick + 4 Tbsp, I use Homemade butter)
Regular Sugar – 1.5 Cups
Baking Powder – 1 Tbsp
Salt – 1/2tsp
Rose Essence – 1tsp (Replace with 2tsp homemade Rose Syrup or Vanilla Essence for Vanilla Cake)
Milk –> (+) or (-) 1/4 Cup
Vanilla Extract – 1/2tsp (replace with Rose Essence)
**Red or Pink Food Color – 1 or 2 Drops (Optional)
** Instead of food color you can use melted pink candy melts, that works great for this cake.

ROSE FLAVORED BUTTER CAKE PREPARATION
- Mix Flour, Salt and Baking Powder in a bowl and keep aside.
- In mixing bowl beat butter and sugar, the regular granulated sugar i used without powdering it.
- Add 1 egg at a time and mix well after each addition.
- Add both essence and give a nice stir.
- Now add flour mixture in batches.
- Add milk in tbsp and stop adding when the batter reaches right dropping consistency.
- You can check this link for cake batter consistency pictures and more pressure cooker tips.
- If using oven bake at 350°F/180°C for 22 minutes in greased 1-8″ cake pan, you can divide the batter and bake in 2 cake pan as well..

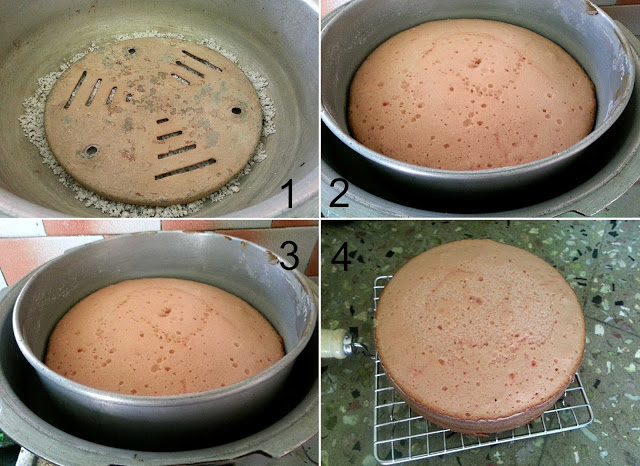
If using Pressure cooker,
- Add 1-2 Cups of crystal salt, Pic 1 (optional) and place the cooker stand over it, adding salt gives even heat for the cake…
- Preheat the cooker for few minutes Pic 1.
- Grease the cooker/cake pan with butter + Flour and keep ready.
- Pour the batter in to the pan, even the top with spatula and tap it before placing inside cooker.
- Place the cake pan inside the cooker, remove the gasket and whistle maker from the lid and close it.
- Make sure to keep the temperature in simmer all over the process and not more than that (Pic 2).
- The above quantity will take approx 50-55 minutes to bake perfectly Pic 3.
- Its not necessary to wait till the cake tester inserted comes outs clean,You can switch off the flame when cake in the center sticks lightly and the heat in the pressure cooker makes it perfect later when its cooled down.
- Keep in the cooker for 5 minutes later remove the pan form the cooker and place it on a wire rack/phulka maker to cool completely.
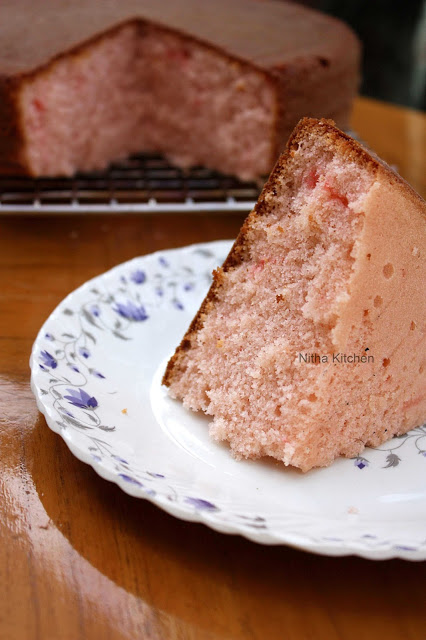
- Once cooled down completely slice the cake and serve.
Notes
- If you don’t get any flavors you can just use cardamom powder.
- If adding crystal salt at the bottom of the cooker you may get light salt crackling sound buy nothing to worry.
Nice post. I was checking constantly this blog and I am impressed! Extremely helpful information specially the last part I care for such info a lot. I was seeking this particular information for a very long time. Thank you and good luck.
Cabinet Refinishing
Hi!! This looks great!! Any tips to make it eggless?
looks so soft and delicious
the cake looks soft and spongy. I have never tried baking one in a pressure cooker.
perfect